
For a routine tub or shower reseal, remove the old caulk and residue before applying a new bead. Covering a peeling bead will not restore its bond. If the caulk is firmly attached and only has surface marks, try cleaning it with a product approved for the fixture and sealant.
Should You Clean, Replace, or Investigate First?
Check the visible seam first. Its condition helps you decide whether this is a cleaning job, a reseal, or something that needs a closer look.
| What you notice | A useful next step |
|---|---|
| The bead is continuous, firmly attached, and has surface soap scum or marks | Try cleaning with a product approved for the fixture and sealant. Inspect again once dry. |
| Caulk is peeling, split, missing, or separated from the tub or tile | Remove the failed bead and residue, then check the exposed joint before resealing. |
| Visible mold is on or around the bead | Do not caulk over it. Clean the affected area and address the moisture before resealing. |
| The joint stays damp, tile moves, surrounding material feels soft, or the same gap keeps returning | Arrange an assessment before adding more caulk. The bead may be only part of the problem. |
The EPA's homeowner mold guide advises cleaning mold and fixing the water problem before painting or caulking. A dark mark alone does not tell you what is behind the seam.
Why Another Layer Is an Unreliable Repair
New caulk needs to bond to the surfaces on either side of the joint. Old material left between them can interfere with that bond, even after the main strip comes out.
Oatey's removal guide warns that leftover caulk can prevent adhesion. GE's silicone removal guidance also identifies cured silicone smears and cleaner residue as bonding problems.
Replacing silicone with silicone still calls for removal and preparation. Using the same type does not make the old bead a reliable base. Specialty repair products may have different instructions, so follow their labels.
How to Prepare a Tub or Shower Joint for New Caulk
Remove the Old Bead Without Damaging the Fixture
Acrylic, fiberglass, coated metal, tile, and natural stone do not all tolerate the same tools or cleaners. Check the fixture's care instructions before scraping or using a chemical remover.
Carefully separate the bead along its edges, then lift it away in sections using a tool suited to the finish. Keep the tool at the surface, without cutting deeply or digging into concealed materials. Stop and get help if removal is damaging the fixture.
Work slowly around tub rims and shower-door frames. GE's guide recommends matching the technique to the surface and testing compatible cleaners in an inconspicuous spot.
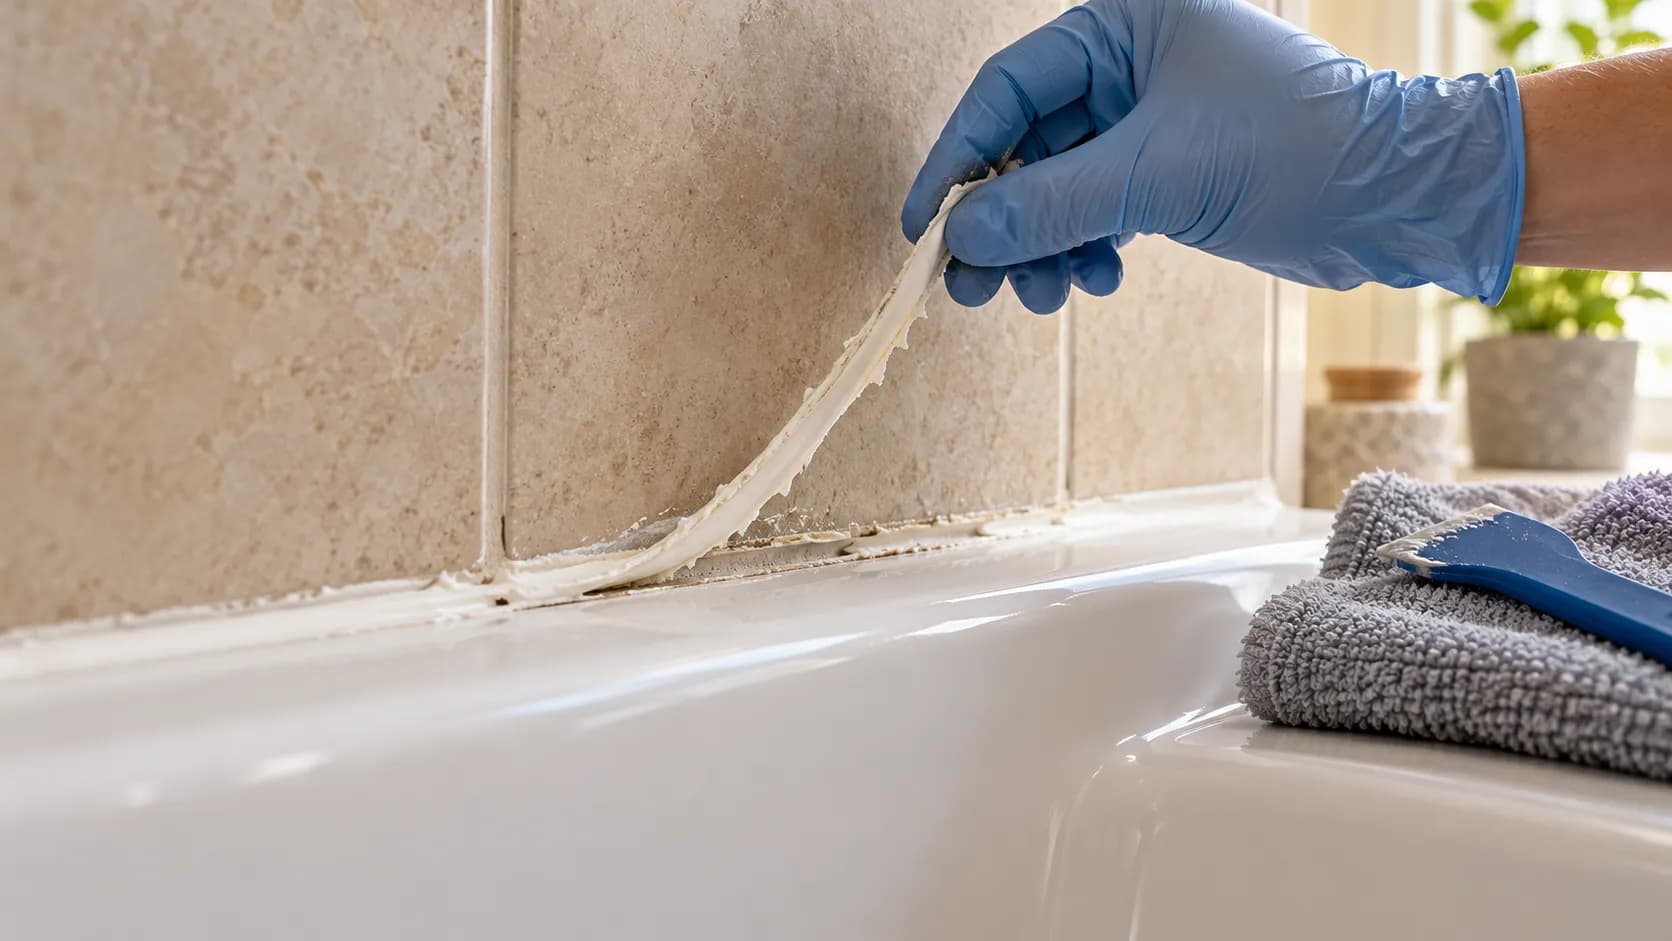
Clear the Residue, Clean, and Let It Dry
Check both sides of the seam for remaining film, loose pieces, soap buildup, or cleaner residue. Use the preparation method approved for the fixture and replacement sealant; a solvent suggested online may damage your tub finish.
For this routine reseal, start with clean, dry surfaces. If the exposed joint becomes wet while the fixture is out of use, have that checked before sealing it.
If you suspect mold behind the tile or surround, leave the investigation to an experienced professional. The EPA's hidden-mold guidance explains why disturbing concealed growth requires care.
Check That the Joint Is Ready
Confirm that the adjoining surfaces are firm and the gap fits the sealant's stated width and depth limits. Have loose tile, soft backing, or an unusually wide opening assessed before resealing.
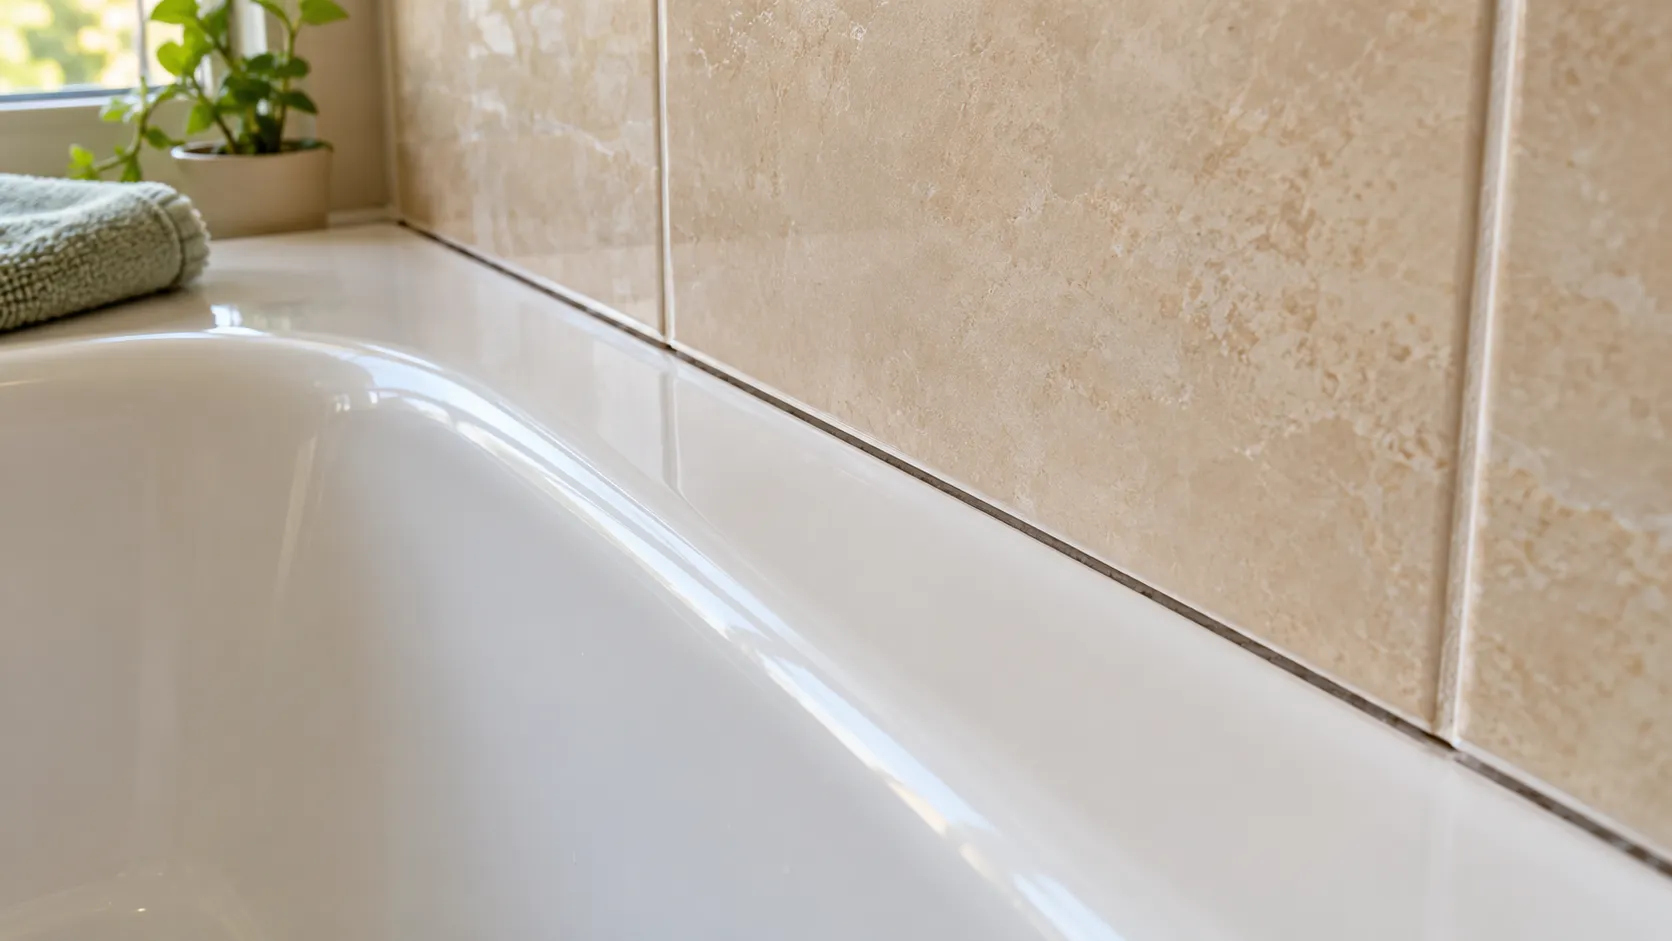
Choose a sealant approved for the location and both materials. Our silicone versus acrylic latex caulk guide explains wet-area suitability, paintability, and label checks.
Follow the product's application, smoothing, and tape-removal instructions. Check that the bead forms a continuous seal against both surfaces, then leave it to set.
How Long Before You Can Use the Shower?
Follow the water-exposure instructions on your tube. There is no single shower-ready time for all bathroom caulks. Before starting, allow time for removal, cleaning, drying, application, and the required wait.
Oatey's guide notes that product type, temperature, and humidity affect curing. Water-ready and fully cured are different milestones. Check the conditions for each, including when you can clean the bead. A dry-feeling surface does not replace the label's instructions.
What If the New Caulk Keeps Splitting or Turning Dark?
Repeated failure needs a closer look. Residue, an unsuitable product, or water exposure too soon can undermine the reseal. Movement or moisture behind the seam may also need attention.
Note when the issue returns. Does the tub or tile move? Does the joint stay damp between uses? Is there staining outside the shower? Share those details when requesting an assessment.
For recurring surface mold, EPA recommends attention to bathroom ventilation and cleaning as well as moisture control. A working fan can help with shower humidity, but it does not repair a plumbing leak. Our small bathroom updates guide can help you plan related ventilation and finish work.
Get Help With Caulk and Bathroom Finish Repairs
A sound, accessible joint may be a manageable DIY job. For help with preparation and resealing, Melvin's Handyman Services can review caulking and related repairs or a broader bathroom update.
In Fredericksburg, Woodbridge, or nearby communities, request a free estimate. Include close-up and wider photos if helpful, plus notes on dampness, movement, and earlier repairs. Concealed leaks, damaged backing, or suspected hidden mold may need a separate specialist assessment.